5 Ways to Improve Your Mountain Biking Skills
It’s always a good idea to continue improving your mountain biking skills for any new trails and locations you decide to visit. The more you improve upon your skills as a bike rider, you will be able to enjoy more skilled trails and tracks that aren’t for beginners or intermediate bike riders.
If you want to improve your skills in your mountain biking, then we have 5 ways how you can improve and better your skills. These 5 tips on how to improve your skills will have you as a better rider on the trails in no time.

Improve Mountain Biking
Bike Maintenance
This is a basic point of knowledge, but a lot of people will forego maintaining their bike. Bike maintenance isn’t just to keep your bike in great shape, but also to protect you as a rider and help you to better understand the mechanisms and parts of your bike.
Keeping your bike clean and protected from the elements is only one part of maintenance. The other part is much bigger and more detailed. Make sure your chain is always oiled and clean of any build-up or debris. Verify that the frame is not cracked, bent, or damaged in any way. Check your wheels for tire pressure, flats, broken spokes, and anything that could cause a problem.
Check every part of your bike, including the brakes, handlebars, seat, and pedals for anything that could potentially hurt you or damage your bike. Make sure the brakes don’t squeak and that the gears shift easily.
By maintaining your bike, you are not just protecting you and your bike, but also those who ride alongside you on trails. The people on the trails expect you to keep your bike maintained, so they’re not affected by your bike performance.
Bike with All Skill Levels

Mountain Bike Skills
Biking with all different skill levels allows you to see where you’re coming from and where you need to be. You can learn things from all groups. Watch how beginners and experts break differently. They’ll take turns, obstacles, and landings all individually.
By watching different skill levels, you can see what you are still doing that is stopping you from advancing, and watching the things you have already improved upon. By riding with levels below you, you can see where you need to improve to get better and realize that your skills aren’t where you want or need them to be.
Watching and learning from expert riders give you the chance to try new skills. You can break later at turns, rush through obstacles, work on your landings and try new trails. The best part of riding with expert riders is their willingness to help you succeed and to help you to better your skills.
Trying new trails with expert riders can benefit your improvement upon your skills.
Learn and Perfect Your Wheelies
Focus on making sure you can do a wheelie and nose wheelie. These are important skills to have for any type of riding

Mountain Biking Skill
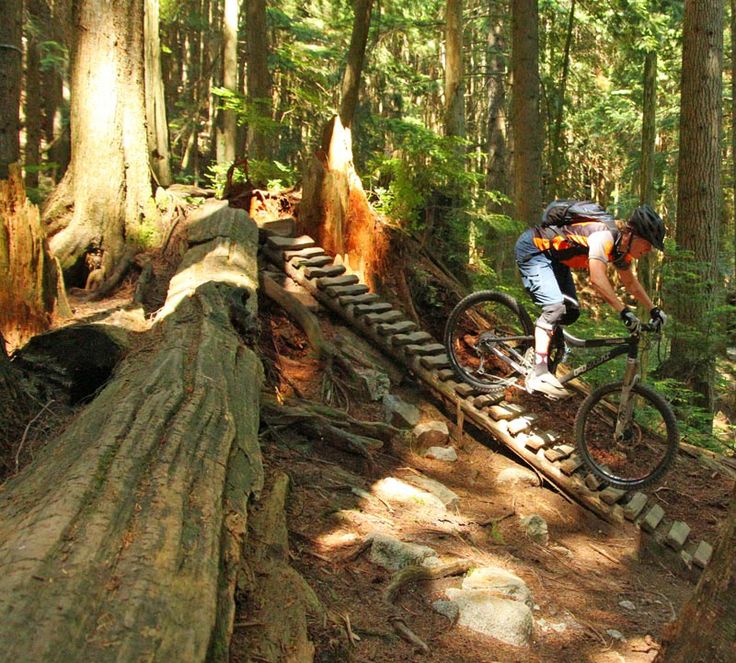
but will be very important when on trails. Trails can have rocks on the paths, branches, debris, and fallen tree trunks.
By making sure you can do these wheelies, you can ensure that you can get over the debris. The wheelie allows you to control the front part of your bike, while a nose wheelie takes care of the back end. Getting over things in your way is an important skill to have when on trails and with a group.
The wheelie is where you have one pedal up and the other down. You pull up on the handlebars, push on the pedal in the up position while you shift your weight to the back wheel. You can either let your bike down after the half-rotation of the pedal or continue to pedal forward. If you are going too far back, use the brake to make your front wheel come back down.
The nose wheelie can be very tricky for some people to learn. First, make sure nothing will stop your front tire from moving and do not use the brake. In one swift movement, lean forward and push forward on the bars while you pull up with your feet. Try doing this one until you are confident in your ability to do it when necessary.
Don’t Dwell. Relax.
Everyone makes mistakes, but dwelling on them prevents you from moving on and improving your skills. When on trials, many obstacles, jumps, and turns can make people hesitate, especially if all they are thinking about whether they will make the same mistake.
All bikers learn that past experiences help them to improve, so the sooner you move on from a mistake you made when biking, you can develop your skills to prevent the same mistake from happening again.
Mistakes, accidents, and failed landings all happen, and they happen to all bikers despite their skill level. They will happen again, but if you dwell on something you did before and continually think about the mistake, it will only prevent you from doing better, which will slow down everyone else in your group or on the trail.
Ride Everywhere You Can
It is so crucial for you to ride anywhere you can. Riding helps improve balance, concentration, and if you ride anywhere you can, it’ll improve your trail skills. Riding on the roads will help you to be more cautious of other riders, foot traffic, laws to obey, courtesy, and debris.
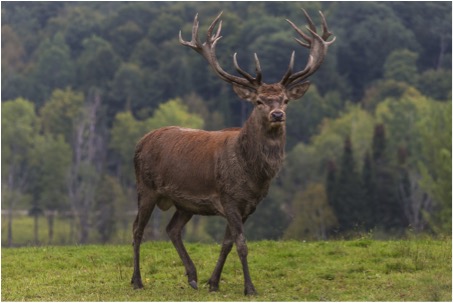
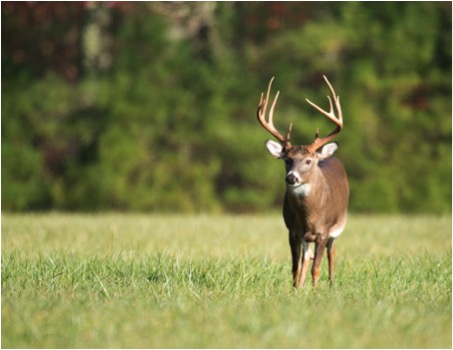
Riding on small and simple bike trails and paths will help you to feel more comfortable in a different style of terrain, watch for foot traffic, be courteous to other bikers, and watch for animals and debris.
Riding on more advanced trails and paths will allow you to become more comfortable with rough terrain, twists and turns, other bikers, more bike traffic, rules to follow, and how to handle your bike in different settings.
Riding everywhere you can improve your skills for different terrains, people, other vehicles and bikes, you’ll become more courteous, and you will learn how to take twists and turns, move from debris, and react quicker to sudden issues that arise on your trails.
About me:
I’m Denise and I’m a mountain biker who enjoys cross-country biking all around the world. I worked as a trainer for 6 years before becoming a co-founder of a private biking lessons school to teach people how to properly train and ride bikes to prepare them for cross-country and any activities they want to indulge in. I’m also a co-founder of MountainBikeEZ.
Like this:
Like Loading...